Processing and packaging large amounts of meat can be a very simple task, but it’s important to have the necessary tools to do so properly.
My husband is an avid deer hunter, so every year at the end of the season we always grind most of the deer meat so that it’s easier to cook with. Some hunters prefer to have their deer meat processed by a professional, however this can be very pricy.

You don’t necessarily have to be a hunter to acquire large amounts of meat. Often times large families will go in together and purchase a whole cow, or pig and divide the meat between each of the families. It can certainly be more cost-effective to buy large amounts of meat in bulk and grind it yourself rather than buying it already ground and prepackaged.
These simple step-by-step instructions for processing and packaging your own meat will allow a shelf life of about 2-3 years in the freezer.
Let’s get started!
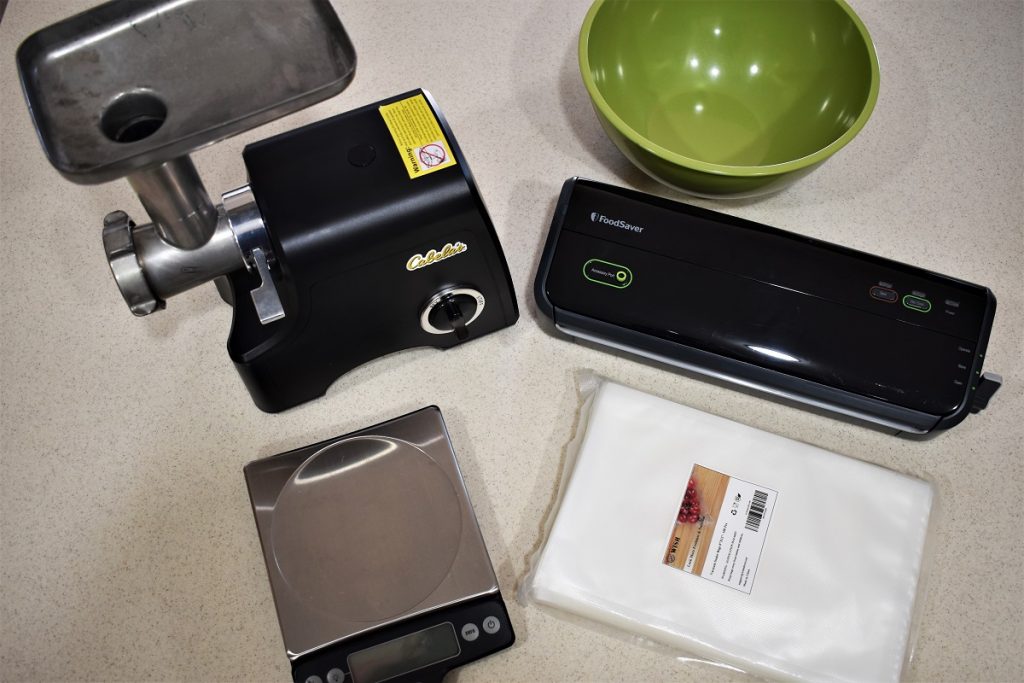
Here’s what you’ll need:
- meat; skinned, de-boned, & cut into strips or chunks
- large sharp knife & large cutting board (for trimming)
- large pair of tongs
- large bowls
- heavy-duty meat grinder (with grinding attachments)
- food scale
- food storage bags
- permanent marker (for labeling)
- storage bag holder, optional
- vacuum sealer machine
Here are my simple step-by-step instructions on how to process and package meat:
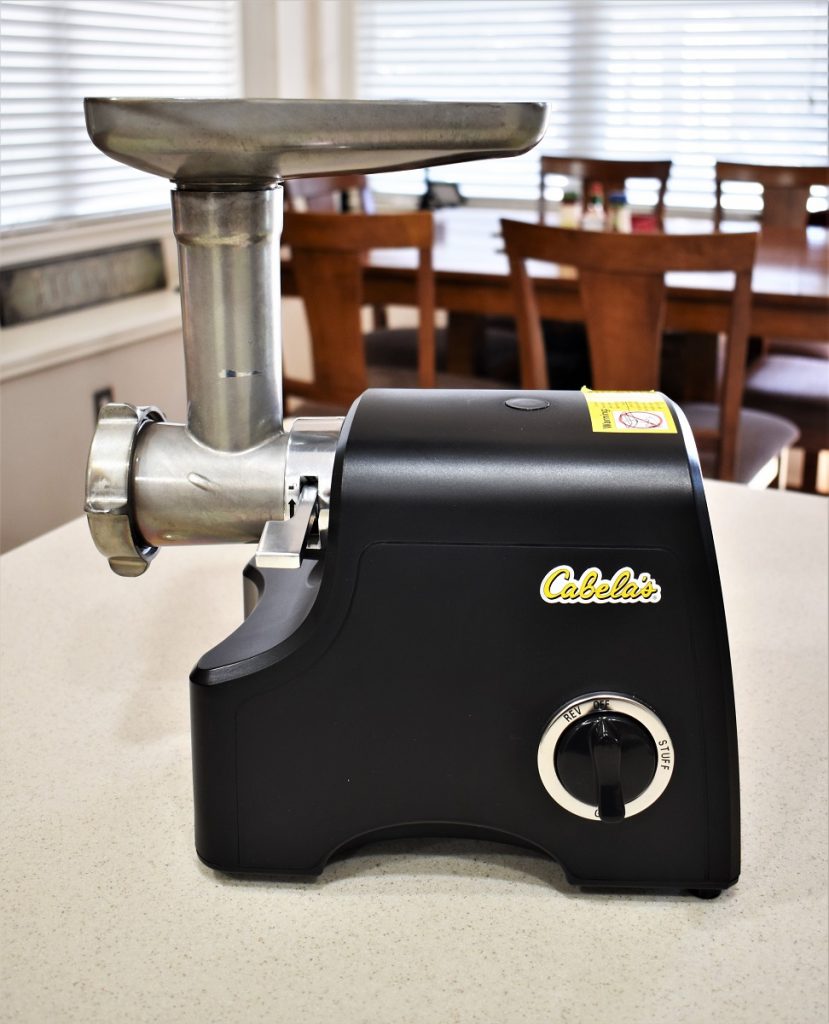
1. Get out all of the necessary tools that you’ll need (listed above) and set up an assembly line in the order that you’ll use everything. This makes the process much easier and more efficient. Be sure to also assemble your meat grinder with the appropriate grinding attachments ahead of time. Refer to the instructions of your meat grinder on how to properly assemble your meat grinder.
2. Using a large sharp knife and cutting board trim any fat and muscle off of the meat, and cut the meat into sizeable pieces small enough to fit into the meat grinder.
3. Feed the meat through the meat grinder, and allow the ground meat to flow into a large bowl. Refer to the instructions of your meat grinder on how to properly grind the meat.

4. Once all of the meat is ground it is time to start weighing and packaging it. Weigh the ground meat on a food scale to the appropriate pounds you are wanting to have packaged.
I typically weigh my ground meat into 1-pound bags.

5. With a permanent marker label the storage bags with a date, description, and weight.
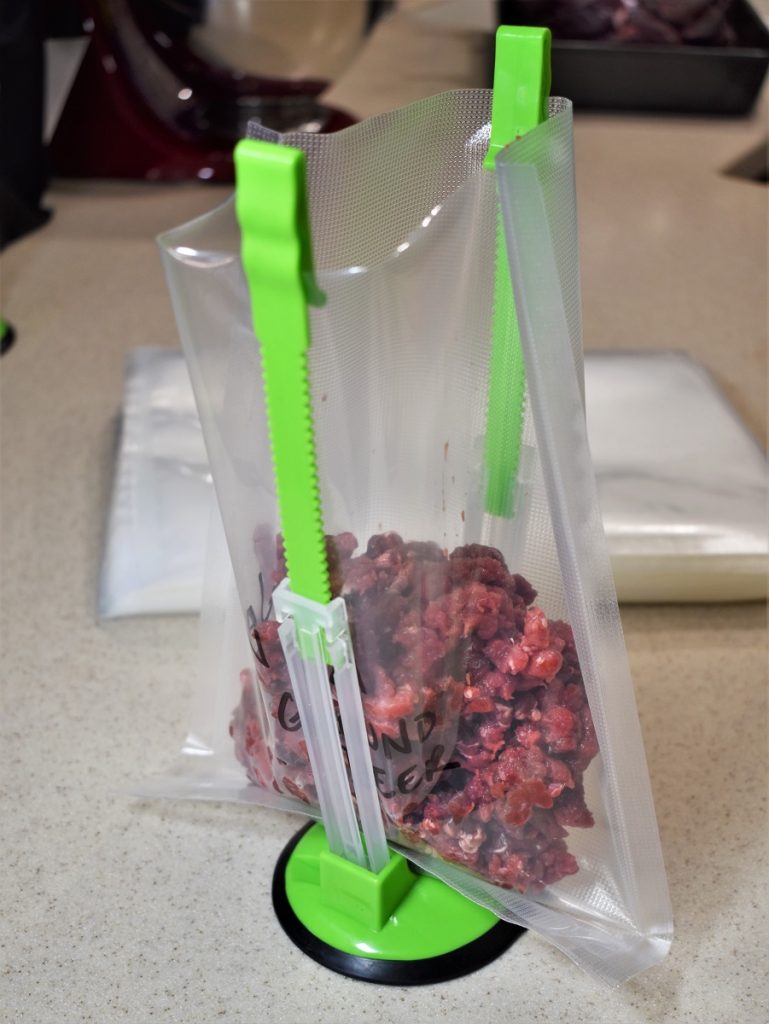
6. Attach the labeled storage bags onto a storage bag holder. This makes it extremely easy to fill the storage bags without any mess.
7. Carefully fill the storage bags with the premeasured ground meat.
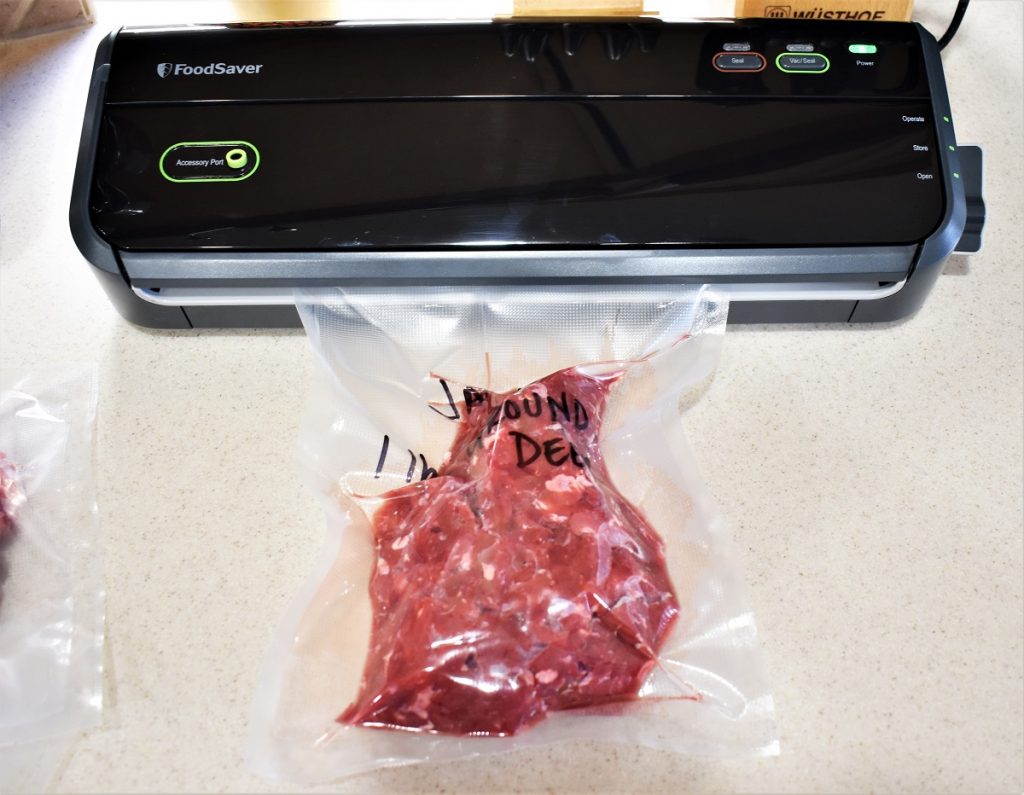
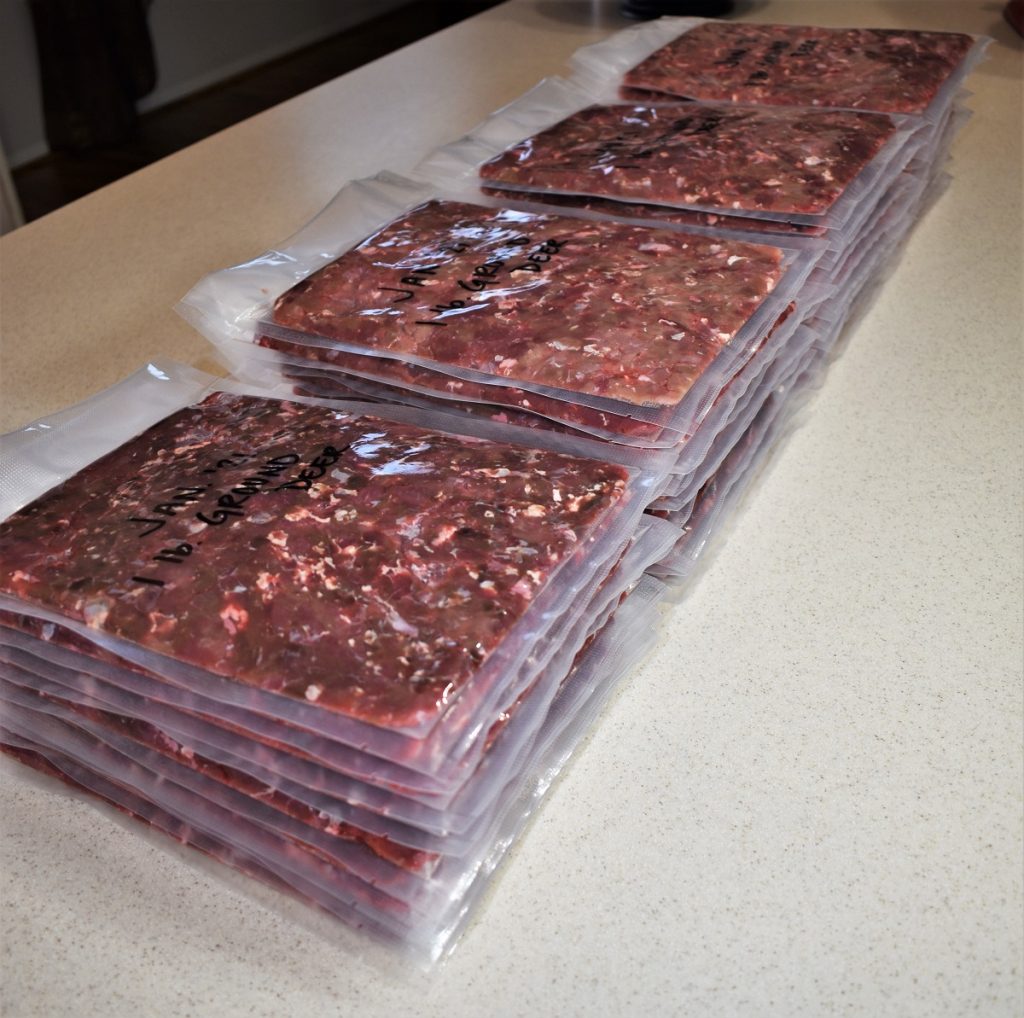
8. Once the storage bags are labeled and filled it is time to vacuum seal the bags. Vacuum and seal each bag using a vacuum sealer machine. Be sure to wipe and clean any blood or meat fragments exposed on the outside of the bag. Spread the meat evenly inside of the bag so that it will lay flat. This will help with storing the meat in the freezer by allowing them to be stacked on top of one another. This also helps the meat to defrost easier come cooking time.


9. Store the meat inside the freezer in multiple piles stacked on top of one another. Vacuum sealed ground meat has a shelf life of about 2-3 years in the freezer.

A Dash of Mel
DIY Meat Processing and Packaging
These simple step-by-step instructions for processing and packaging your own meat will allow a shelf life of about 2-3 years in the freezer.
- large sharp knife & large cutting board (for trimming)
- large pair of tongs
- large bowls
- heavy-duty meat grinder (with grinding attachments)
- food scale
- food storage bags
- permanent marker (for labeling)
- storage bag holder, optional
- vacuum sealer machine
- meat (skinned, de-boned, & cut into strips or chunks)
Get out all of the necessary tools that you’ll need (listed above) and set up an assembly line in the order that you’ll use everything. This makes the process much easier and more efficient. Be sure to also assemble your meat grinder with the appropriate grinding attachments ahead of time. Refer to the instructions of your meat grinder on how to properly assemble your meat grinder.
Using a large sharp knife and cutting board trim any fat and muscle off of the meat, and cut the meat into sizeable pieces small enough to fit into the meat grinder.
Feed the meat through the meat grinder, and allow the ground meat to flow into a large bowl. Refer to the instructions of your meat grinder on how to properly grind the meat.
Once all of the meat is ground it is time to start weighing and packaging it. Weigh the ground meat on a food scale to the appropriate pounds you are wanting to have packaged. I typically weigh my ground meat into 1-pound bags.
With a permanent marker label the storage bags with a date, description, and weight.
Attach the labeled storage bags onto a storage bag holder. This makes it extremely easy to fill the storage bags without any mess.
Carefully fill the storage bags with the premeasured ground meat.
Once the storage bags are labeled and filled it is time to vacuum seal the bags. Vacuum and seal each bag using a vacuum sealer machine. Be sure to wipe and clean any blood or meat fragments exposed on the outside of the bag. Spread the meat evenly inside of the bag so that it will lay flat. This will help with storing the meat in the freezer by allowing them to be stacked on top of one another. This also helps the meat to defrost easier come cooking time.
Store the meat inside the freezer in multiple piles stacked on top of one another. Vacuum sealed ground meat has a shelf life of about 2-3 years in the freezer.


